
After I had covered my office chair in no time, I decided to keep going! Another 4 meters of Spoonflower Sport Lycra were lying around, destined to make cheerful striped covers for the lids of plastic bins. I wanted to keep the lids including the snaps in use, but the blue and red did not fit in the color scheme of my room.

The design of the fabric is by MissTiina, XXL Pastel Rainbow Fun Stripes No1.5in Horizontal.
Originally, I had planned on sewing the covers with elastic around the edges. Now I decided to see if I could just tie this stretchy, non fraying fabric around the lids with knots on the corners. And it worked!
I put a lid on the fabric and cut around it. It is folded lengthwise in the picture. It shows I can get two lid covers out of the width of the fabric.

Next, I clipped the fabric to the lid, with Clover wonder clips on all sides. This way, I could knot the corners, with the fabric staying evenly distributed over the lid.

First, I twisted the corner of the fabric tight, so that the longest edge would automatically fold under the ridge of the lid. Then I tied it in a simple knot.

Below you see how it looks from the underside of the lid. Later, I found I was able to tuck the knots into the ridges under the lid so you don’t see them. I can still open and close the snap closures without taking the cover off. Perfect!

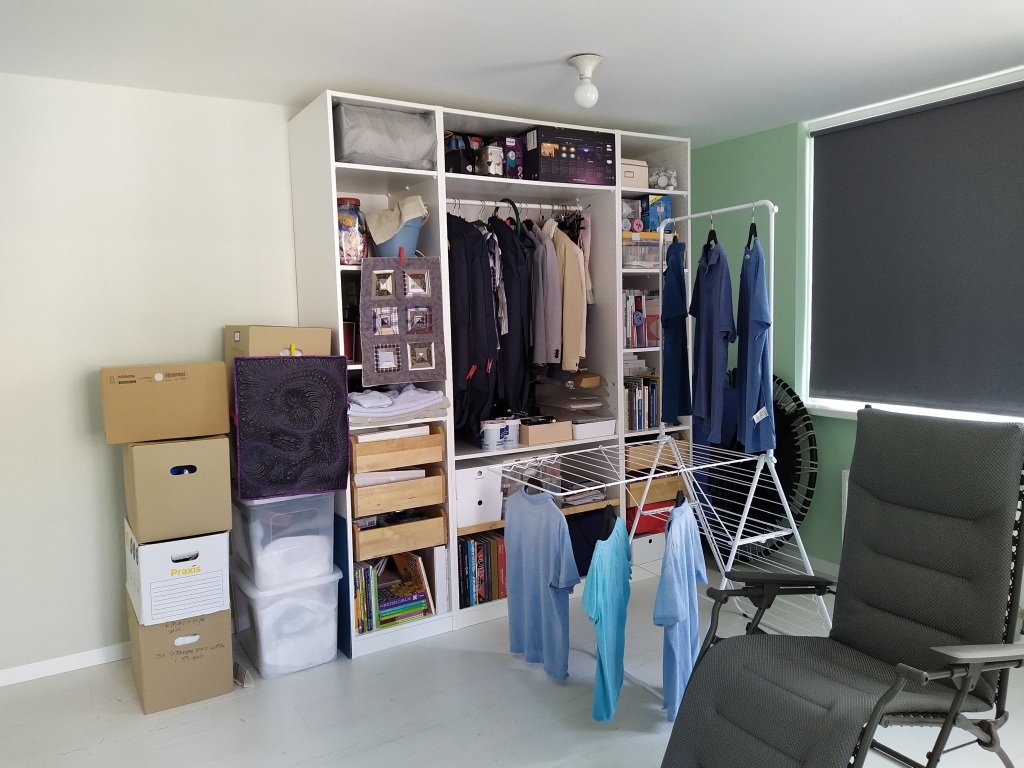
I still had some fabric left, so I tied some around my big black fitness trampoline, my inkjet printer and and a paper tissue box too, all in the same way! The remaining fabric is used as a dust cover for a precious wool blanket in my open closet.

I am happy with the bins now. It’s a cheap and flexible system for storing quilting fabrics. Some are under my sewing machine, and I can easily move them out of they way when necessary.
They stack, and I have put other items on top, like a laundry drying rack, an IKEA trolley and a printer trolley. This way, these bins do not take up extra space, and I can hang more laundry, and access the lower tiers of the trolleys more easily.


And, to show you the full effect of this transformation, some before pictures!
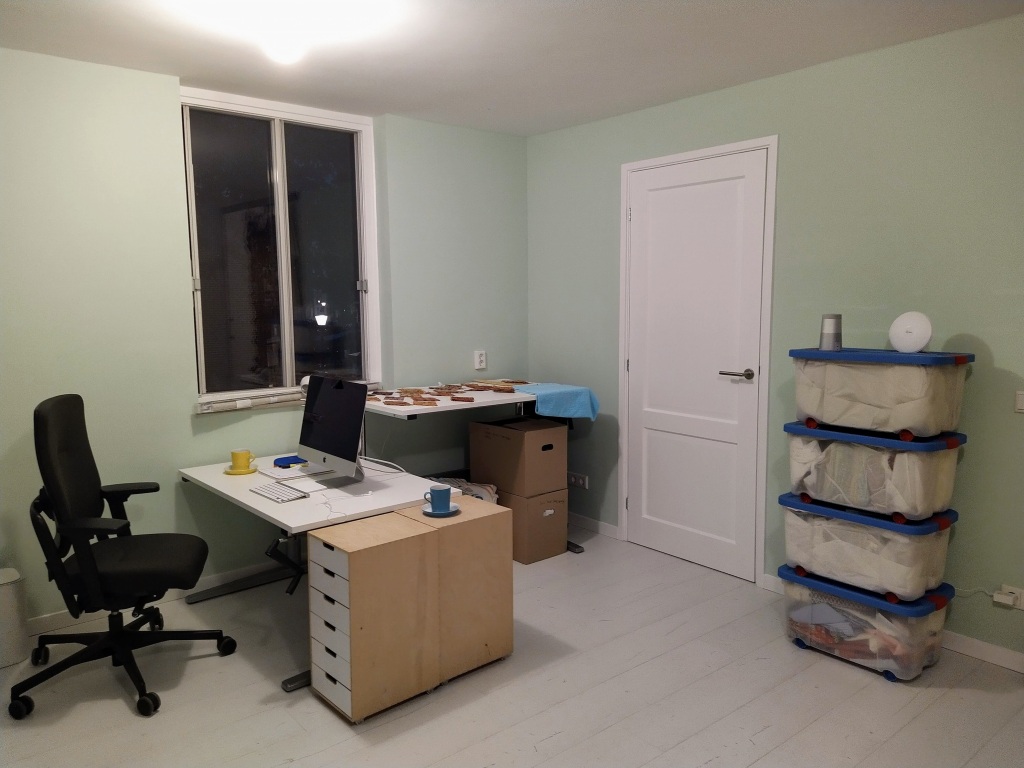
And…. some ‘before before’ pictures from two years ago. These are from before we owned it, and turned two small bedrooms into one big bright room!

Oh yes, I’ve come along way in two years time! Knocking out the walls between the rooms, the hallway and the landing was actually the best space utilization improvement idea! Not only is this more efficient, it made the space much brighter because the light from two sides reaches much further inside.
XXX Annika
